Welcome back to the Rudtek blog series on SEO and AI!
In our last post, we explored The AI SEO Advantage—the why behind using tools like Yoast’s new AI features to streamline your workflow and drive better results. Now, it’s time to move from theory to action.
This guide is your practical, step-by-step roadmap to setting up and configuring the two critical new Yoast AI Setup components within Yoast SEO: the Premium AI Generate/Optimize features and the fundamental, search-engine-friendly llms.txt file.
If you’re ready to let AI handle your repetitive SEO tasks, let’s get this powerful integration up and running.
Section 1: The Essential Prerequisite (Premium Status)
The first step is a quick check of your toolkit.
While the foundational llms.txt feature is included in the free version of Yoast SEO, the advanced, time-saving features—Yoast AI Generate (titles & meta descriptions) and Yoast AI Optimize (in-content suggestions)—are exclusive to Yoast SEO Premium subscribers.
- Required: An active subscription to Yoast SEO Premium and the latest version of the plugin installed on your WordPress site.
If you don’t have Premium, you can still follow Step 2 to future-proof your site for AI crawlers, then upgrade later to unlock the full potential of Step 3.
Section 2: Step-by-Step 1: Future-Proofing with llms.txt
The llms.txt file is an essential, universal signal for Large Language Models (LLMs) like those powering ChatGPT and Gemini, directing them to the most valuable, high-quality content on your site. Yoast makes generating this file incredibly simple.
This feature is available in the free version of Yoast SEO.
How to Enable Yoast’s llms.txt Feature
- Log in to your WordPress Dashboard.
- In the left-hand menu, navigate to Yoast SEO and select Settings.
- On the settings page, click the Site features tab at the top.
- Scroll down the page until you find the APIs section (it is typically toward the bottom).
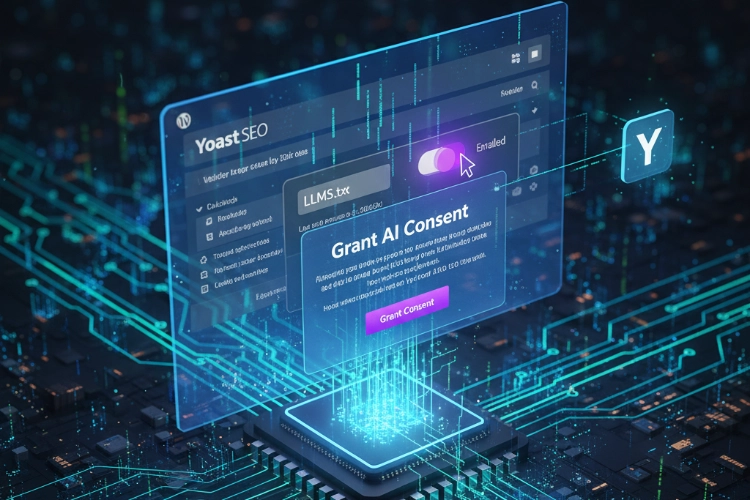
- Locate the LLMs. txt card. You will see a toggle switch.
- Toggle the switch to ON (it will turn purple with a checkmark).
- Click Save changes at the top or bottom of the page.
💡 Quick Check
To confirm the file is live, click the “View the llms. txt file” button right next to the toggle. A new tab should open showing a simple, text-based file that contains links and data about your core website content.
Your site is now optimized to be correctly indexed and cited by AI crawlers. Well done!
Section 3: Step-by-Step 2: Activating Yoast AI Generate & Optimize
The Premium AI features require a single, crucial first-time consent step to begin working. Since these features rely on external services (like OpenAI), you must agree to the data usage terms.
1. Ensure You Have the Latest Premium Update
Before starting, ensure your Yoast SEO Premium plugin is fully updated to the latest available version. This ensures you have access to the newest AI functionalities.
2. Granting AI Consent
The AI features are generally enabled by default in the plugin settings, but the true activation happens the first time you try to use them in a post or page:
- Navigate to a Post or Page: Go to Posts or Pages in your WordPress dashboard and open any existing or new piece of content in the Block Editor (Gutenberg).
- Open the Yoast SEO Sidebar: Click on the Yoast SEO icon (the “Y” icon) in the top-right toolbar to open the SEO sidebar.
- Locate an AI Feature:
- For AI Generate: Scroll to the Search appearance or Social appearance section. Next to the Title or Meta Description field, click the Use AI button.
- For AI Optimize: Scroll to the Premium SEO analysis or Readability analysis and click the sparkly icon next to an optimization assessment (e.g., Keyphrase density).
- Click “Grant consent”: The first time you click an AI feature, a modal will appear regarding the Terms of Service and Privacy Policy. You must click the “Grant consent” button to allow the AI functionality to access the necessary data (like your post content) to generate suggestions.
Once you click Grant consent, the tool will process your request and immediately deliver the AI-powered suggestions.
Test Drive: Generating Your First AI Title
Now that everything is set up, let’s see the AI Generator in action.
- After granting consent, remain in the Search appearance section of the Yoast SEO sidebar.
- Click Use AI next to the SEO Title field.
- The tool will analyze your post content and generate a set of optimized SEO Title suggestions.
- Review the five suggestions provided. You can click Generate 5 more if you don’t like the first batch.
- When you find a title you like, click Apply title to instantly populate the SEO Title field.
The entire process, from opening the post to applying an optimized title, takes seconds—a powerful time-saver for any SEO professional.
Conclusion: Ready to Master Your AI Workflow
Congratulations! Your Yoast AI features are fully installed, configured, and ready to transform your SEO workflow. You’ve enabled the AI roadmap for crawlers and unlocked the power of AI-generated content optimization.
Installation is the first step. Mastery is next.
In our final post of this series, we will dive deep into best practices, advanced prompting, and integrating the AI features into a seamless content workflow to ensure you’re getting the best possible results every time.
Next Up: Yoast AI Mastery: Advanced Strategies for Prompting, Optimizing, and Integrating AI into Your SEO Workflow
What’s Your First AI Task?
Did you run into any issues with the consent step? Which of the new features are you most excited to use first? Let us know in the comments below! If you have any questions about this setup guide, don’t hesitate to Contact Us for direct assistance.